Visualizzazione post con etichetta pokèmon. Mostra tutti i post

venerdì 11 aprile 2014

Piccoli cambiamenti

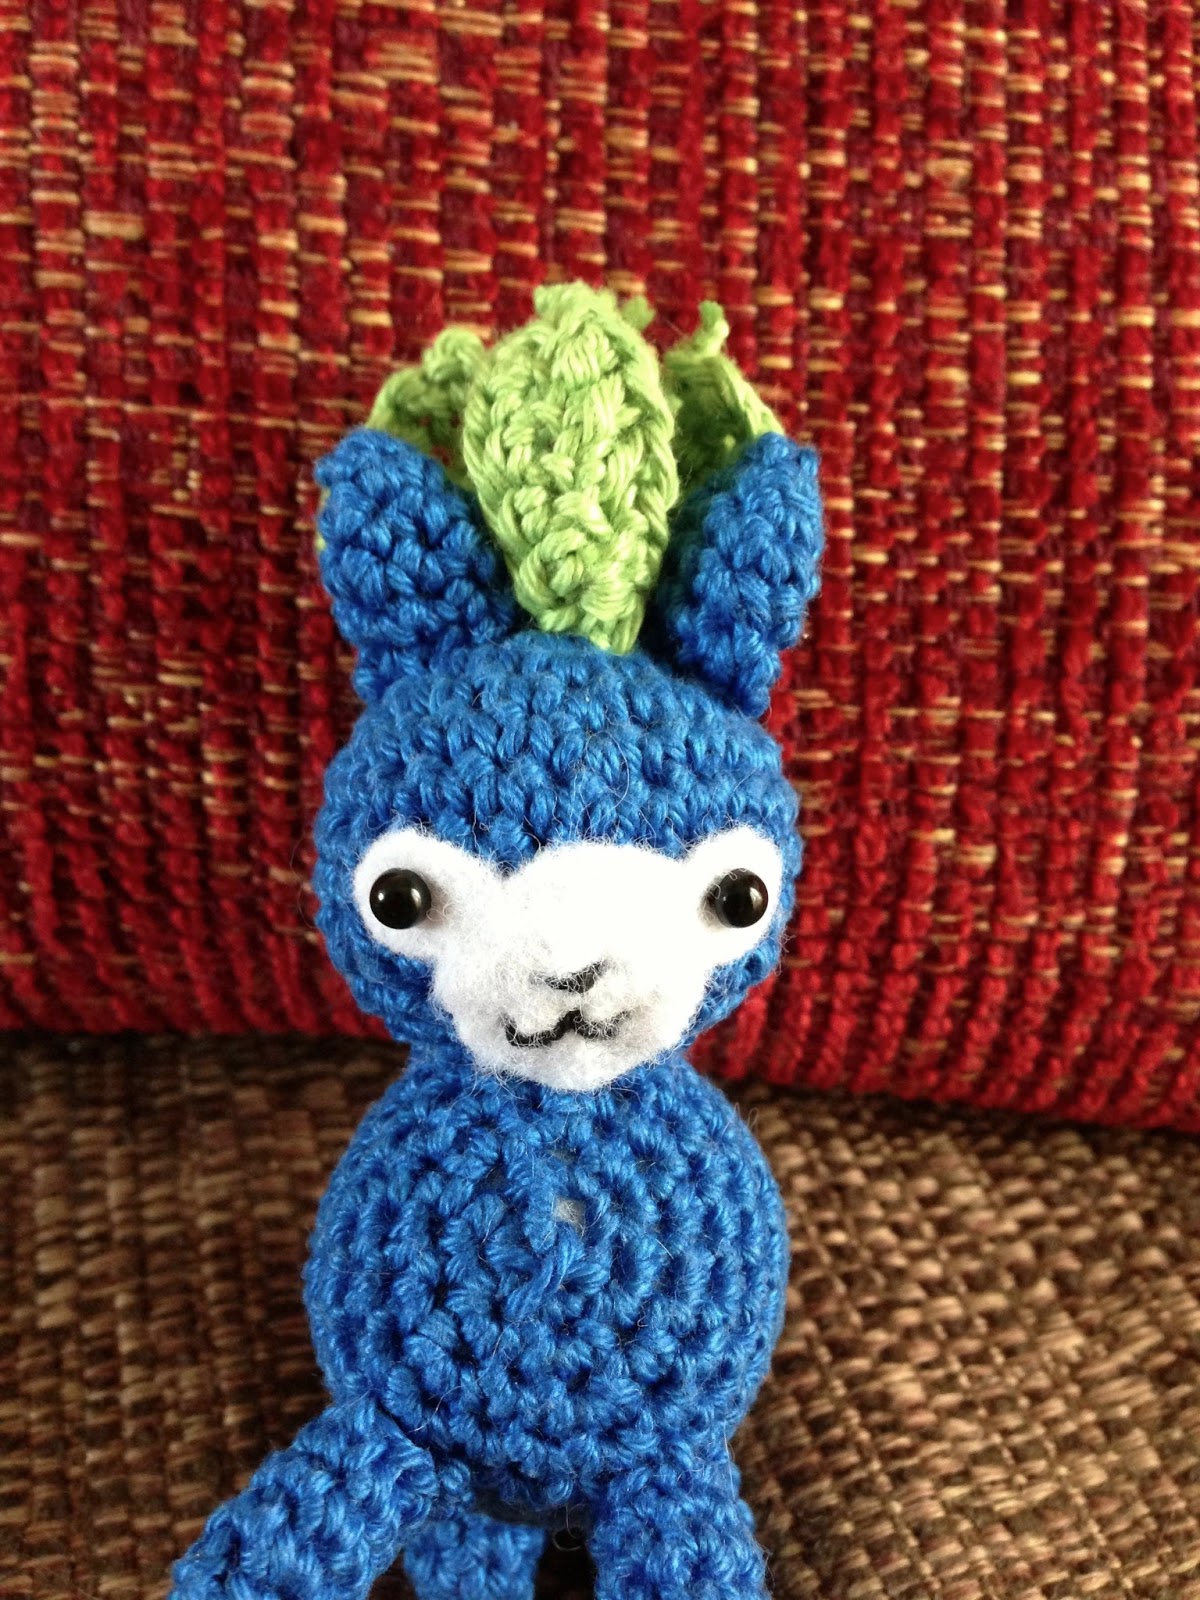
Da oggi le mie creazioni non sono più esposte presso Katy's quindi se desiderate comprare qualcosa o vedere le ultime cose, vi consiglio di visitare il mio negozio online e di seguirmi su Instagram (@chibiistheway) dove posto SEMPRE le foto. Inoltre, se siete interessati all'acquisto di un oggetto che però non vedete in vendita nel mio negozio, non preoccupatevi, comunicatemelo e io lo aggiungerò! Adesso sono davvero piena di pupazzi e oggetti perchè ho avuto del tempo per realizzare cose nuove e sperimentare. Ultimissima cosa realizzata è Bellossom! L'avevo già fatta circa un anno fa e aveva riscosso molto successo, vi era piaciuta molto soprattutto su Tumblr. Quindi ho deciso di provare a rifarla (non avevo scritto alcun pattern) e questo è il risultato:


Versione di un anno fa


Questa volta ho scritto il pattern che trovate in vendita sempre nel mio negozio online

giovedì 3 aprile 2014

Togepi plush tutorial


Semplice e veloce, ecco un progetto super carino :) Togepi! Non tutte le uova sono pasquali ^^
Ecco cosa vi servirà:
feltro bianco e crema
filo bianco, nero, rosso, blu
ago
forbici
colla

Dal template qua sotto ritagliate 2 pezzi per ogni sagoma, utilizzando il crema per la testa e gli arti e il bianco per l'uovo. 


Per prima cosa cucite la faccia che più vi piace. Cucite assieme le 2 sagome della testa. Ora cucite delle forme triangolari sull'uovo con il filo blu e rosso. Cucite assieme i 2 pezzi dell'uovo tenendo in mezzo la testa e se volete imbottite! Per quanto riguarda i bordi superiori dell'uovo, cuciteli alla testa solo sul retro, lasciandolo libero sul davanti (per dare un effetto più tridimensionale). A questo punto incollate gli arti e siete a posto! Ecco il vostro Togepi che ha preso vita xD Volendo potete farne un portachiavi oppure, ingrandendo il template, potete creare un vero e proprio pupazzo! In tal caso vi suggerisco di cucire gli arti prima di cucire assieme i 2 pezzi dell'uovo e di cucire anche il bordo "davanti" dell'uovo, in modo che il pupazzo non si apra!!

Spero vi sia piaciuto il tutorial, fatemi sapere cosa ne pensate ;)


domenica 5 gennaio 2014

Chubby pikachu pattern


Materials
cotton yarn: yellow, black and dark brown
3.5mm hook
fiberfill
glue
needle
red, black and white felt

Abbreviations

R= round
sc= single crochet
sts= stitches
rep= repeat

Body (using yellow)

R1 6 sc in a magic ring (6 sts)
R2 2 sc in each sc around (12 sts)
R3 *1 sc, 2sc in next sc* rep 6 times (18 sts)
R4 *2 sc, 2 sc in next sc* rep 6 times (24 sts)
R5 *3 sc, 2 sc in next sc* rep 6 times (30 sts)
R6 *4 sc, 2 sc in next sc* rep 6 times (36 sts)
R7-R18 sc around (36 sts)R19 *4sc, dec 1* rep 6 times (30 sts)
R20 *3 sc, dec 1* rep 6 times (24 sts)

R21 *2 sc, dec 1* rep 6 times (18 sts)
Start to fill
R22 *1 sc, dec 1* rep 6 times (12 sts)
R23 *skip 1 sc, 1 sc* rep 6 times (6 sts)
Finish to fill
Fasten off


Arms (using yellow yarn, make 2)

R1 3 sc in a magic ring (3 sts)
R2 2 sc in each sc around (6 sts)
R3-5 sc around (6 sts)Fasten off
Sew on the side of the body

Feet (using yellow yarn, make 2)

R1 5 sc in a magic ring (5 sts)
R2 2 sc in each sc around (10 sts)
R3-4 sc around (10 sts)R5 *skip 1 sc, 1 sc* rep 5 times (5 sts)
Fasten off
Sew on the bottom of the body

Ears (make 2)

R1 using black yarn, 3 sc in a magic ring (3 sts)
R2 2 sc in each sc around (6 sts)
R3-6 using yellow yarn sc around (6 sts)
Fasten off
Sew on the very top of the body

Tail (using yellow yarn, make 2)

ch 7, sc in the second chain from the hook and sc in the other chains (6 sts)
ch1, turn, 6 sc. (6 sts)
ch 4, sc in the second chain from the hook and 5 sc (6 sts)
ch 1, turn, 6 sc (6 sts)ch 1, turn, 6 sc (6 sts)
ch 4, sc in the second chain from the hook and 5 sc (6 sts)
ch 1, turn, 6 sc (6 sts)ch 1, turn, skip 1 st, 5 sc (5 sts)
Fasten off
Sew the 2 pieces together and sew on the back of the body

Stripe 1 (using brown yarn, make 2)

ch 5, sc in the second chain from the hook and 3 sc (4 sts)
Fasten off
Sew 1 piece on the bottom of the tail and one on the back of the body

Stripe 2 (using brown yarn)

ch 7, sc in the second chain from the hook and 5 sc (6 sts)
Fasten off
Sew on the back of the body

Eyes

Using black felt cut 2 circles, with white felt cut 2 small circles and glue them on the top of the black circles. Glue the eyes on the body or sew them

Cheeks

Using red felt cut 2 circles bigger than the eyes and glue them near the eyes

Nose and mouth

Using black yarn sew 2 small lines between the eyes to make the nose, then down the nose sew a "W" shaped mouth


domenica 1 settembre 2013

Oshawott plush tutorial

Materiali:
-feltro: bianco, azzurro, blu, marrone, nero, giallo
-filo per cucire: nero, azzurro
-ago
-colla
-ovatta
-template:
Istruzioni:
Cucire il corpo alla testa (ripetere 2 volte)
Posizionare gli occhi e il naso e incollarli alla testa. Posizionare il naso fra i 2 occhi
Cucire la bocca sotto il naso (un bel sorriso) e 3 lentiggini sotto ogni occhio
Cucire 2 linee nere sulla conchiglia e incollarla al corpo
Cucire la coda dietro al corpo
Posizionare zampe, braccia e orecchie prima di cucire assieme i 2 pezzi del corpo
Se volete realizzare un portachiavi, circa a metà della testa inserite un nastro con moschettone
Prima di concludere la cucitura, riempite con ovatta
FINITO

Spero vi sia piaciuto e se avete dubbi e/o domande non esitate a lasciare un commento!

GRAZIE :3


lunedì 1 luglio 2013

mercoledì 5 giugno 2013

Oshawott pattern

Questo pattern l'avevo ideato per la vendita, ma non ha riscosso successo. Forse perchè l'autrice (io) è ancora sconosciuta. Quindi ho deciso di renderlo pubblico, sperando che sia d'ispirazione per qualcuno :)


Materials
cotton yarn: white, light blu, dark blue, black
Felt: brown and yellow3.5mm hook
fiberfill
2 bead eyes

Abbreviations

R= round
sc= single crochet
sts= stitches
rep= repeat
dec= decrease

Head (using white)

R1 6sc in a magic ring (6sts)
R2 2sc in each sc (12 sts)
R3 *1sc, 2sc in next sc* rep 6 times (18 sts)
R4 *2 sc, 2 sc in next sc* rep 6 times (24 sts)
R5 *3 sc, 2 sc in next sc* rep 6 times (30 sts)

R6 *4 sc, 2 sc in next sc* rep 6 times (36 sts)
R7-R12 sc all around (36 sts)
R13 *4 sc, dec 1* rep 6 times (30 sts)
R14 *3 sc, dec 1* rep 6 times (24 sts)
R15 *2 sc, dec 1* rep 6 times (18 sts)
Fill and fasten off

Body (using light blue)

R1 6sc in a magic ring (6sts)
R2 2sc in each sc (12 sts)
R3 *1sc, 2sc in next sc* rep 6 times (18 sts)
R4 *2 sc, 2 sc in next sc* rep 6 times (24 sts)
R5 *3 sc, 2 sc in next sc* rep 6 times (30 sts)

R6-R10 sc all around (30 sts)
R11 *3 sc, dec 1* rep 6 times (24 sts)
R12 *2 sc, dec 1* rep 6 times (18 sts)
Start filling
R13 only in back loops: *5 sc, skip 1 sc, slip stitch, sc, 5 sc, skip 1 sc, slip stitch, 2 sc* rep 2 times
Fill and fasten off

Arms (using white, make 2)
R1 6sc in a magic ring (6sts)
R2-R4 sc all around (6 sts)
Fasten off

Feet (using dark blue, make 2)

R1 6sc in a magic ring (6sts)
R2 *1 sc, 2 sc in next sc* rep 3 times (9 sts)
R3-R4 sc all around (9 sts)
Fasten off

Ears (using dark blue, make 2)

R1 3 sc in a magic ring (3 sts)
R2 2 sc in each sc (6 sts)
Fasten off

Tail (using dark blue)

R1 6 sc in a magic ring (6 sts)
R2 2 sc in each sc (12 sts)
R3-R4 sc all around (12 sts)
R5 *dec* rep 6 times (6 sts)
Fasten off

Details

-eyes: I put bead eyes at R8 of the head. Distance between the eyes: 7 sc
-collet: sew down 2 of the 4 "waves" on the collet, the 2 on the front
-nose: using brown felt, cut an oval and put it between the eyes
-shell: using yellow felt, cut a little shell and put it on th belly
-freckles: using black yarn, sew 3 freckles under each eye


Finished!!


sabato 9 febbraio 2013

Pokèmon

Sono in fissa con i pokèmon adesso, quindi non potevo non fare gli starter di Kanto :)


venerdì 1 febbraio 2013

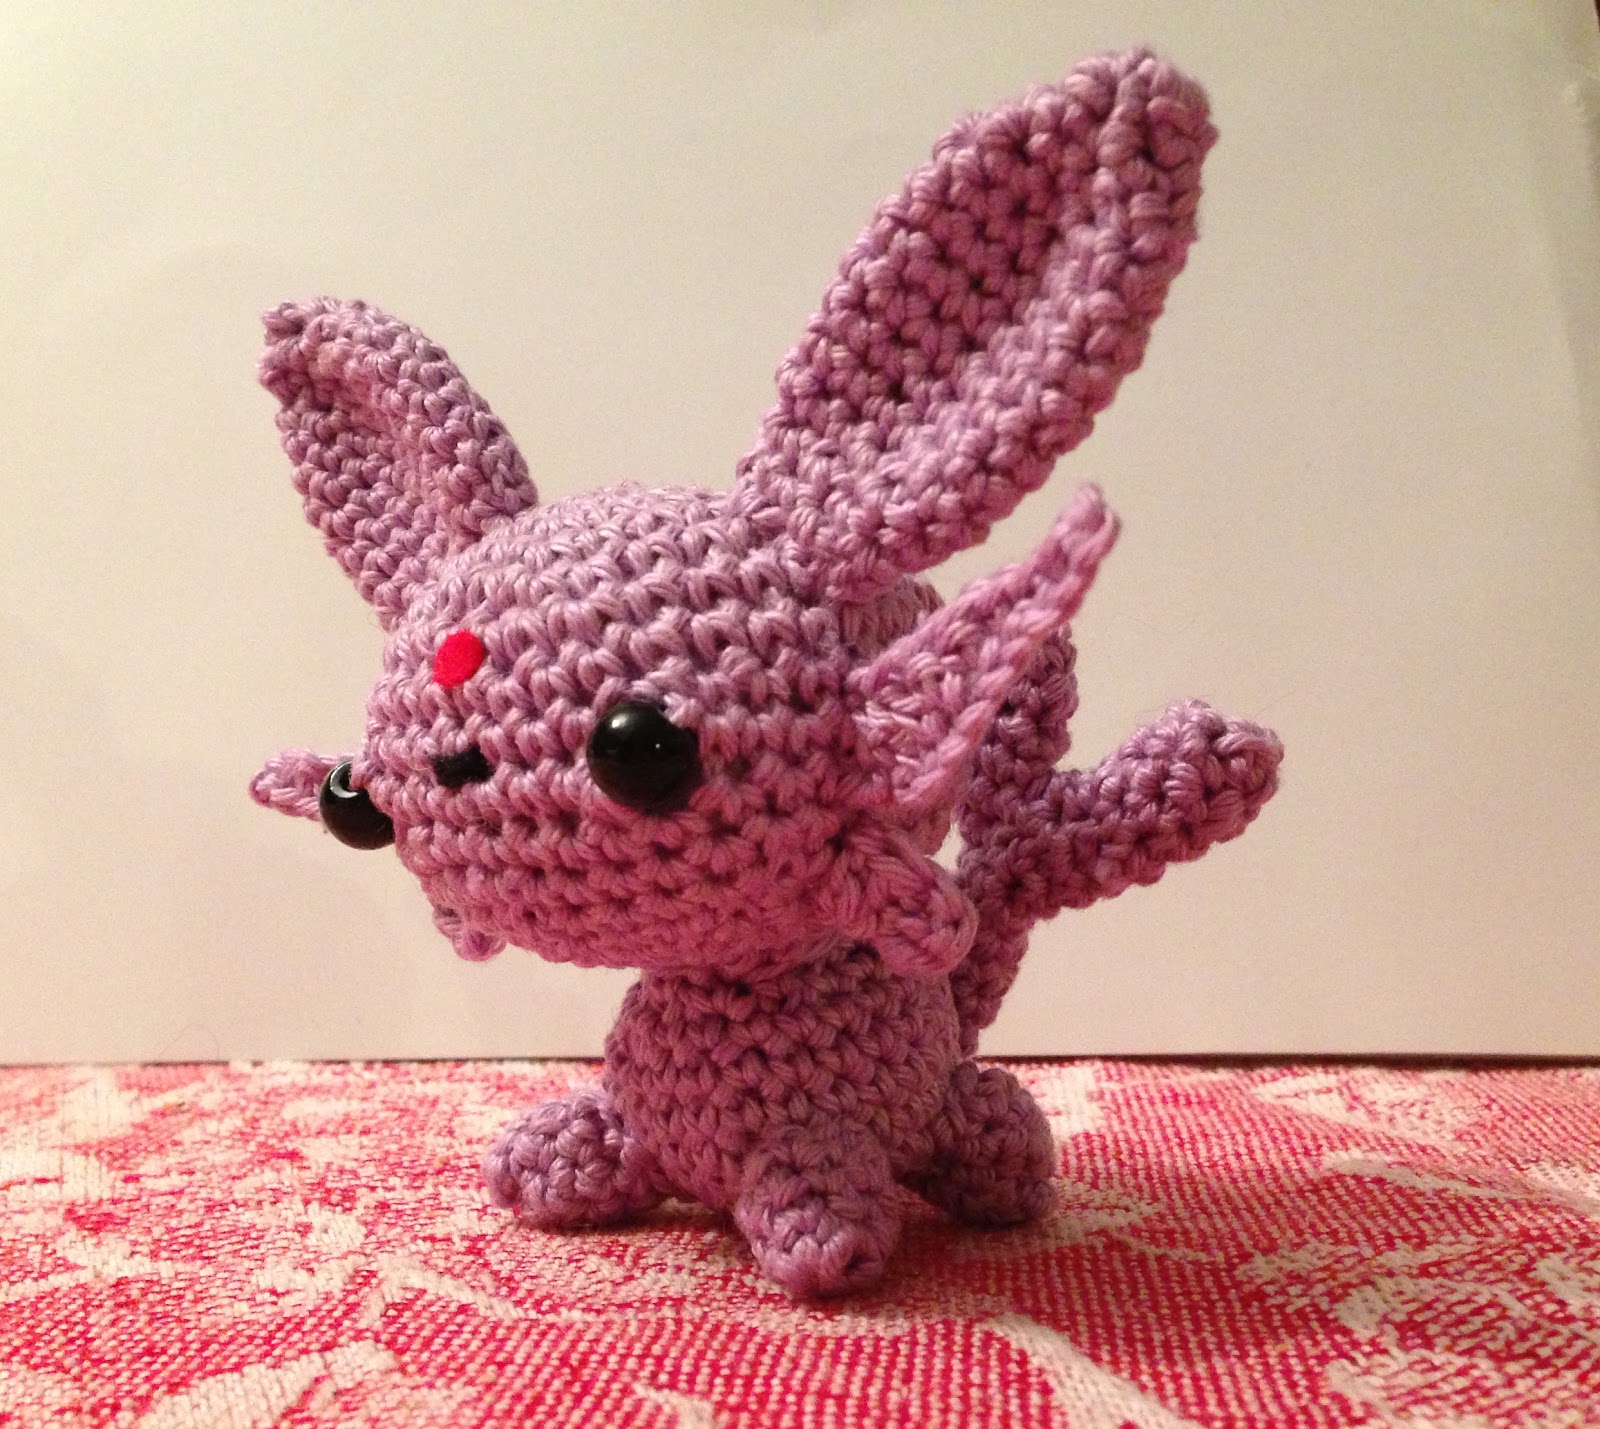
Espeon!

Finalmente sono riuscita a realizzare il mio pokèmon preferito all'uncinetto!!! :3


giovedì 31 gennaio 2013

Jigglypuff pattern


Abbreviations
R= round
Sc= single crochet
Sts= stitches
Rep= repeat


Head/Body
R1 6 sc in a magic ring (6 sts)
R2 2 sc in each sc around (12 sts)
R3 *1 sc, 2sc in next sc* rep 6 times (18 sts)
R4 *2 sc, 2 sc in next sc* rep 6 times (24 sts)
R5 *3 sc, 2 sc in next sc* rep 6 times (30 sts)
R6 *4 sc, 2 sc in next sc* rep 6 times (36 sts)
R7 *5 sc, 2 sc in next sc* rep 6 times (42 sts)
R8 *6 sc, 2 sc in next sc* rep 6 times (48 sts)
R9 *7 sc, 2 sc in next sc* rep 6 times (54 sts)

R10-R16 repeat R9 (54 sts)
R17 *7 sc, dec 1* rep 6 times (48 sts)
R18 *6 sc, dec 1* rep 6 times (42 sts)
R19 *5 sc, dec 1* rep 6 times (36 sts
)R20 *4sc, dec 1* rep 6 times (30 sts)
R21 *3 sc, dec 1* rep 6 times (24 sts)
R22 *2 sc, dec 1* rep 6 times (18 sts)
R23 *1 sc, dec 1* rep 6 times (12 sts)
R24 *skip 1 sc, 1 sc* rep 6 times (6 sts)fasten off


Arms (make 2)
R1 6 sc in a magic ring
R2 1 sc in each sc around (6 sts)
R3 *1 sc, 2sc in next sc* rep 3 times (9 sts)
R4-R7 repeat R3 (9 sts)
fasten off

Feet (make 2)
R1 6 sc in a magic ring (6 sts)
R3-R7 repeat R2 (12 sts)
fasten off

Ears (make 2)
R1 5 sc in a magic ring (5 sts)
R2 1 sc in each sc around (5 sts)
R3 2 sc in each sc around (10 sts)
R4 1 sc in each sc around (10 sts)
R5 *1 sc, 2sc in next sc* rep 5 times (15 sts)
fasten off

Tuft
R1 6 sc in a magic ring (6 sts)
R3-R15 repeat R2 (12 sts)
fasten off
(twist and sew on the top of the head)


Eyes and mouth
Using light blue felt, cut 2 big ovals. Using white felt, cut 2 little circles and glue on the top of the light blue ovals. Using red felt cut a little oval or circle for the mouth

mercoledì 23 gennaio 2013

Oshawott pattern

Disponibile ora lo schema di Oshawott!! PDF in inglese sul mio negozio Etsy

Se siete invece interessati all'oggetto finito, non preoccupatevi! Oshawott è disponibile sempre su Etsy a 5,00€!!!


sabato 18 agosto 2012

Pikachu

Finalmente sono riuscita a terminare il mio progetto: Pikachu all'uncinetto! E' stata dura, ma alla fine ho raggiunto il mio scopo! E' venuto meglio di quanto sperassi  e ne sono molto fiera!


Sulla scia dell'entusiasmo ho realizzato un Pikachu in origami, tratto da un libro dedicato ai pokèmon in carta! Le istruzioni sono in cinese e per chi non ha dimestichezza a seguire solo le figure, ecco un tutorial! Spero vi piaccia :)